A simple, reliable way to raise strong seedlings at home
There’s been a bit of interest recently in starting seeds under artificial lights — so I thought I’d share my current (very simple!) setup.
The good news? You don’t need a greenhouse, fancy kit, or loads of space. A small cupboard and a few basic bits of equipment can give you excellent results — perfect for allotment growing or kitchen garden planters.
🪴 The Setup
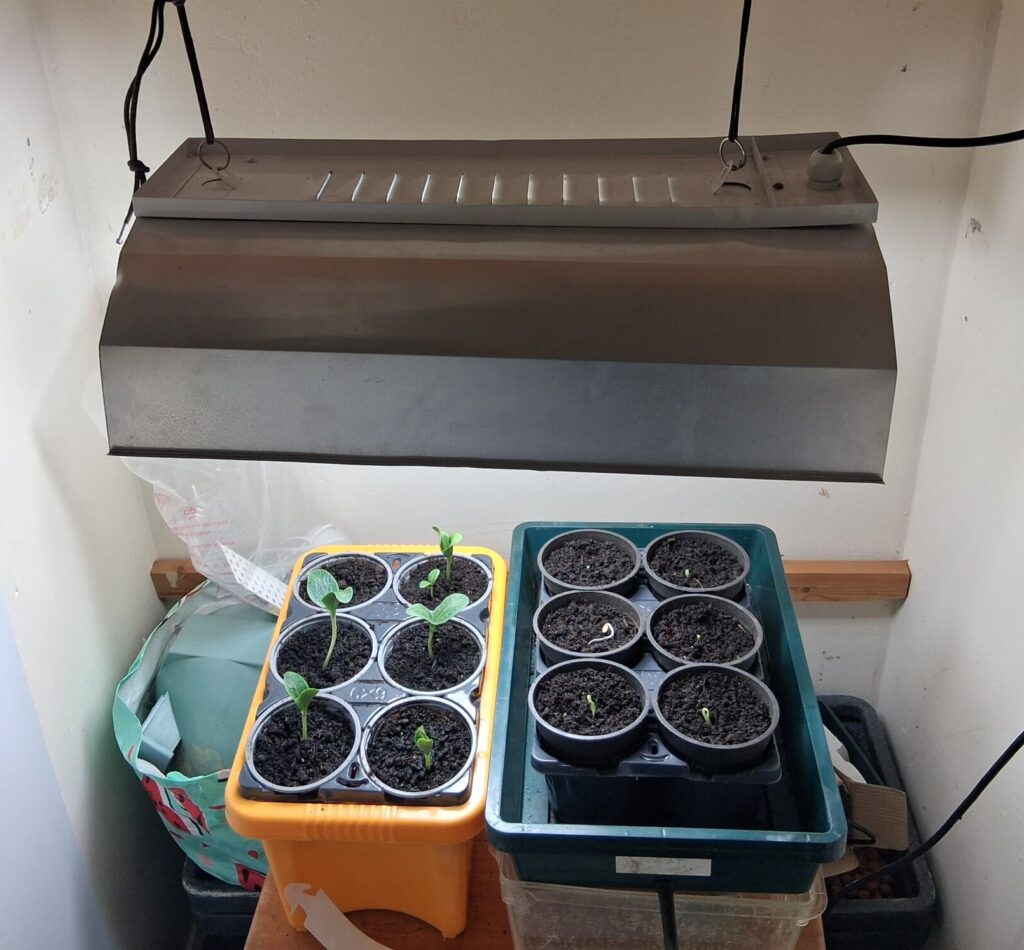
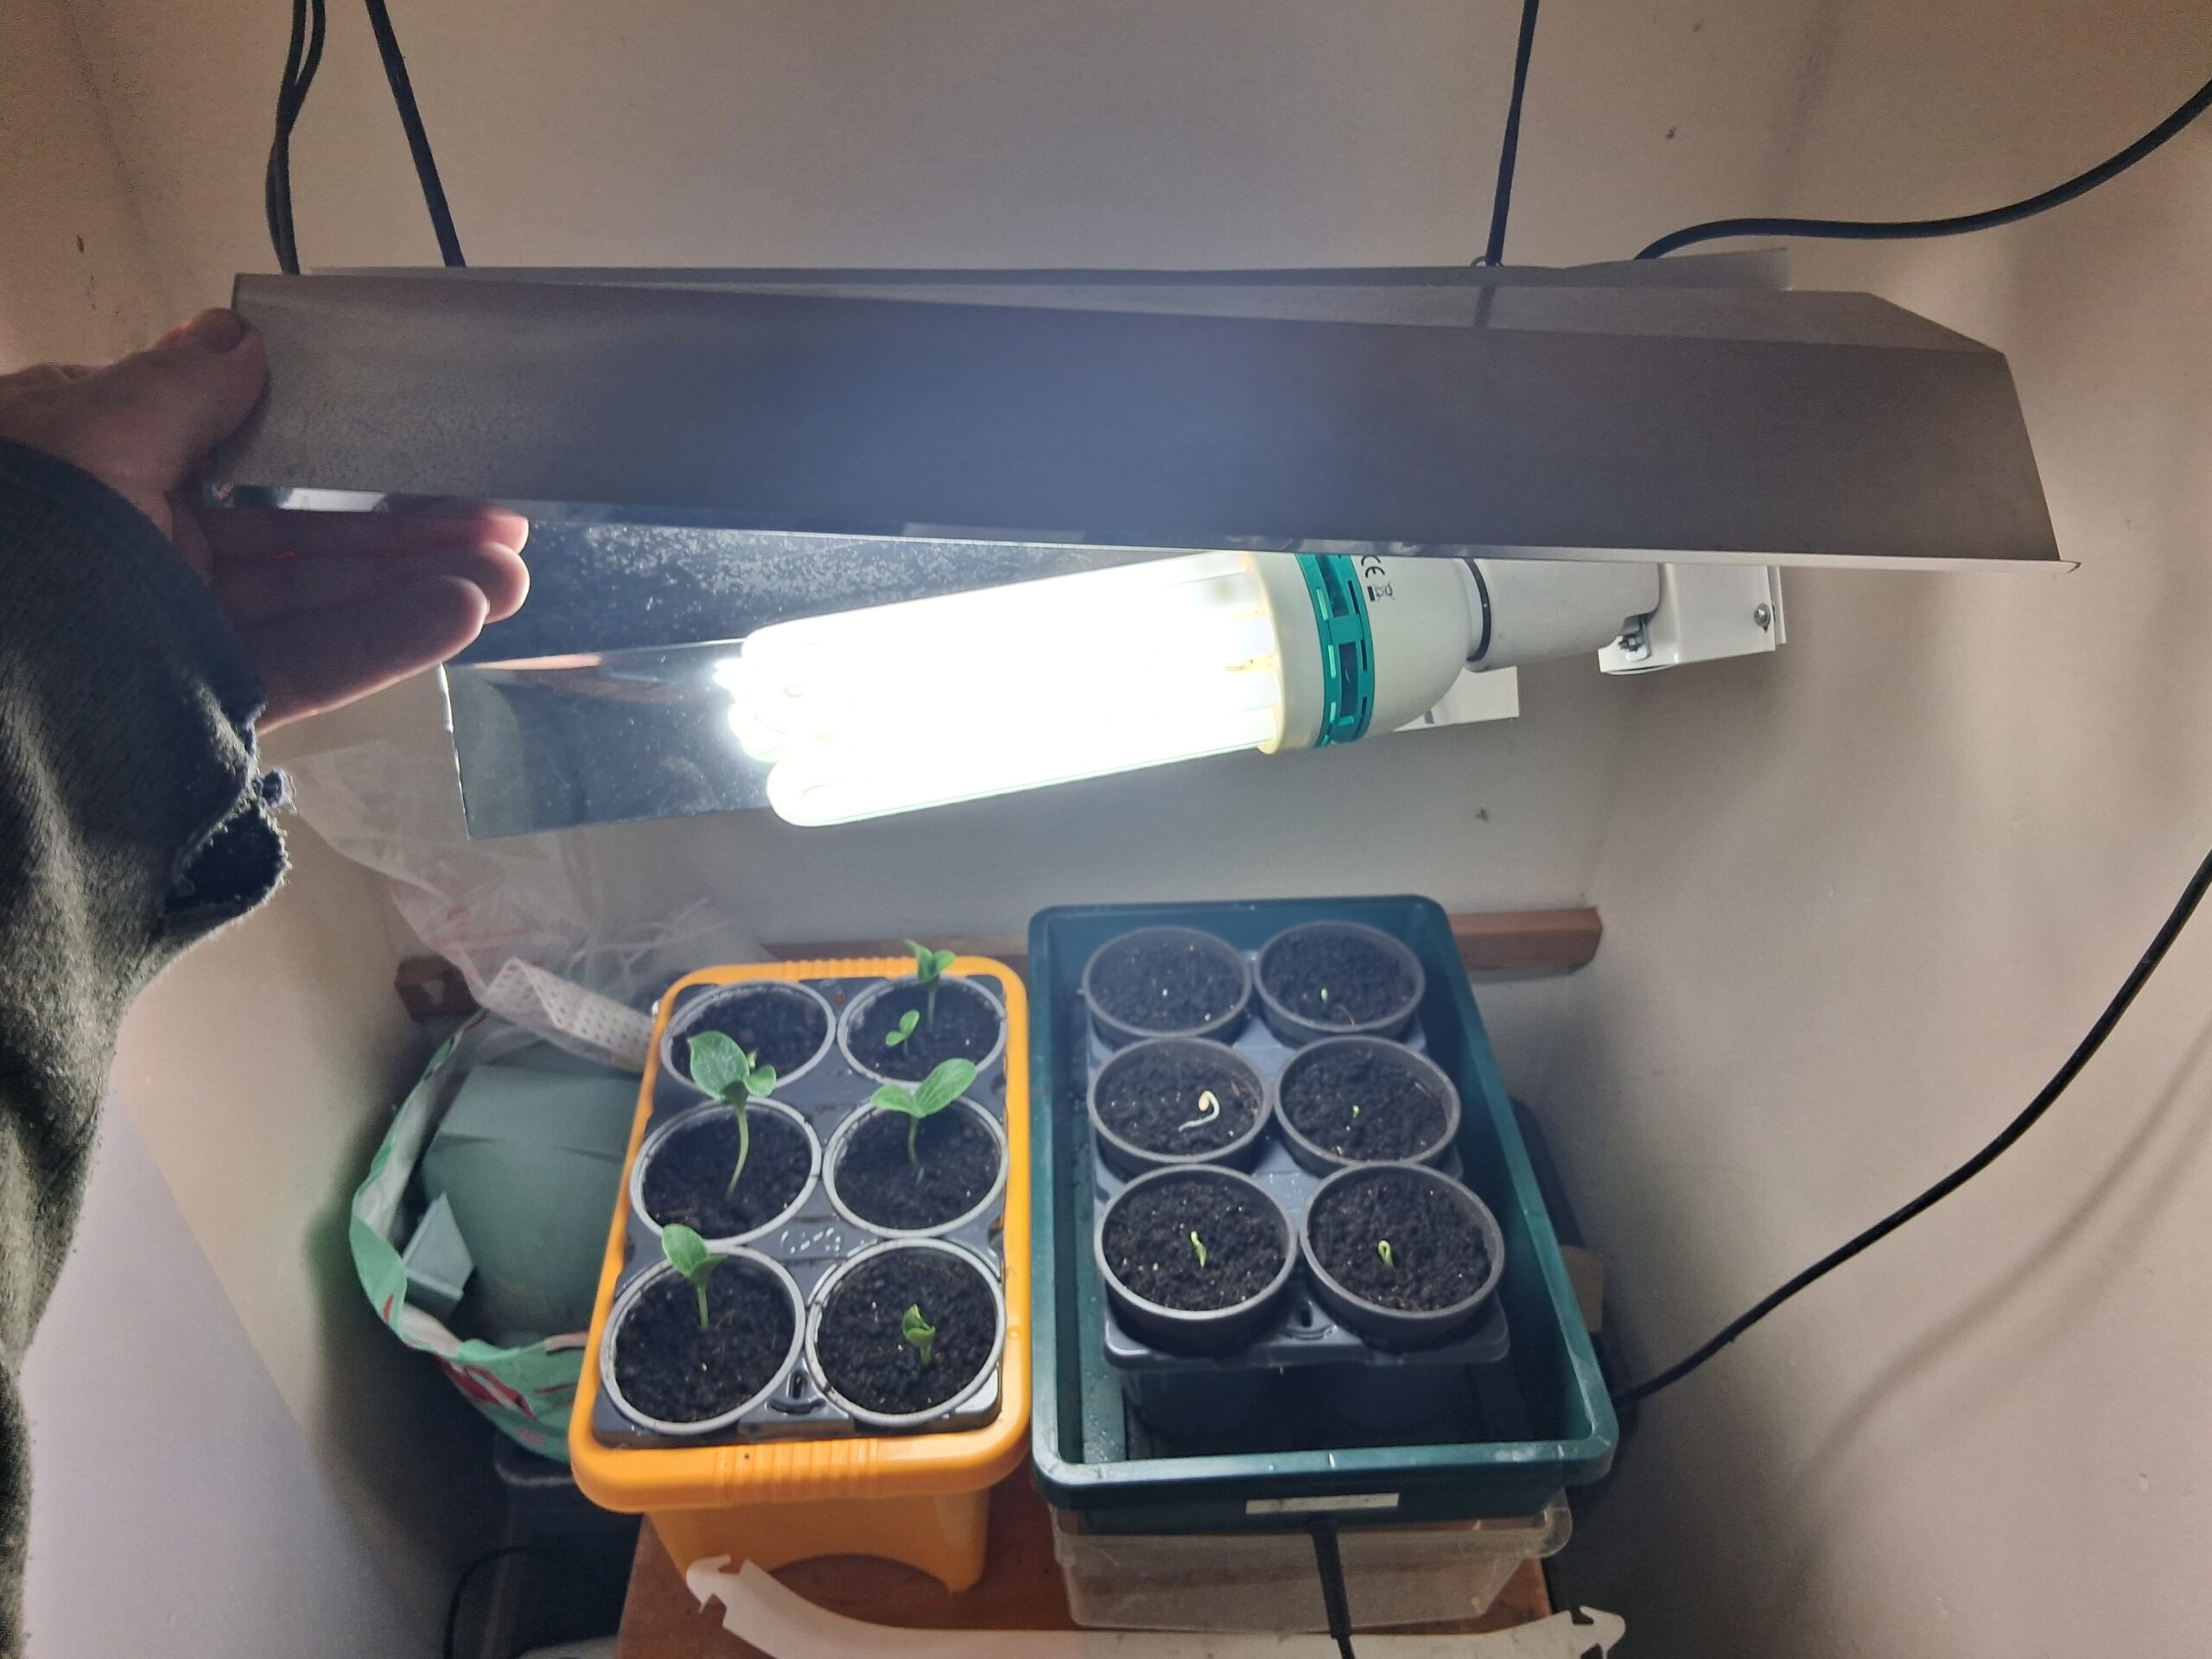
What you’re looking at here is about as straightforward as it gets:
- A cupboard space (or any enclosed corner)
- A MaxiBright grow light with a simple reflector/shade
- A heated propagator (just for germination)
- Standard pots or seed trays
- A bit of trial-and-error positioning
That’s it — nothing complicated.
💡 How It Works
Step 1 — Germination (Warmth)
Seeds start life in the heated propagator, which gives them the warmth they need to sprout quickly and reliably.
👉 This is the only stage where heat is really important.
Step 2 — Straight Under the Light
As soon as seedlings appear, they go straight under the grow light.
This is the key step.
Without strong light, seedlings stretch, go leggy, and weaken — something we’ve all seen on a windowsill.
Under the light:
- Growth is compact
- Stems are strong
- Plants are healthier overall
Step 3 — Light Positioning
The light is hung just above the plants and can be adjusted as they grow.
Rule of thumb:
- Keep the light close, but not touching
- Raise it gradually as plants develop
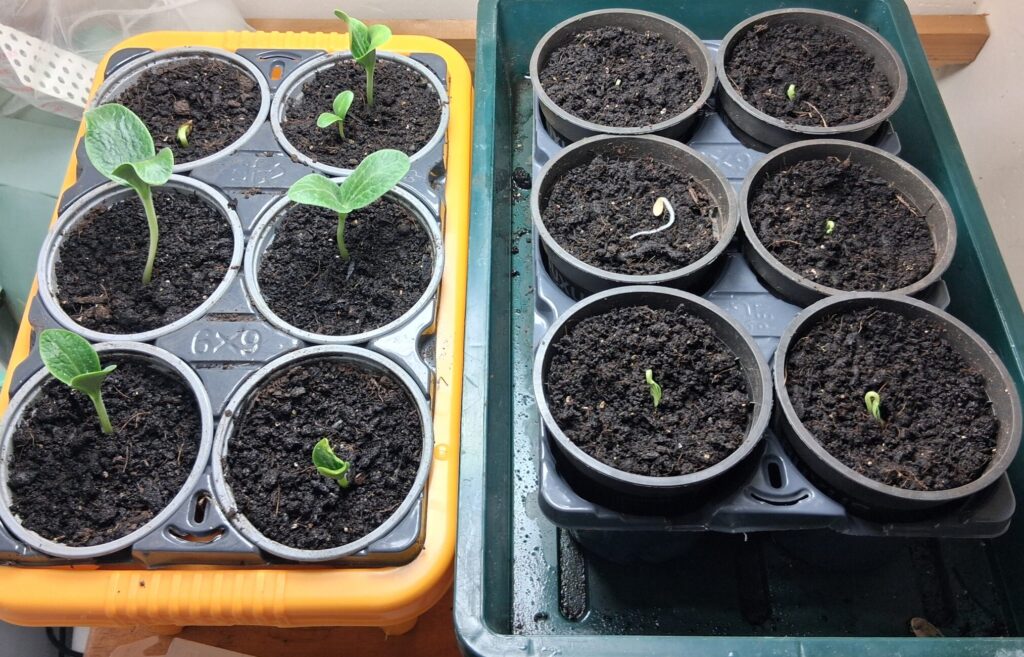
🌿 What I’m Growing Here
You can see a mix of early seedlings coming through — ideal for getting a head start on the season.
This setup is perfect for things like:
- Courgettes
- Cucumbers
- Peas
- Brassicas
- Lettuce
Basically anything you’d normally start indoors.
👍 Why This Works So Well
- 🌡 Controlled warmth for germination
- 💡 Strong, consistent light (no relying on the weather!)
- 📦 Compact — fits in a cupboard
- 💷 Low cost compared to full grow systems
- 🌱 Produces sturdy, transplant-ready plants
⚙️ Easy Improvements (If You Want to Refine It)
This is a “temporary” setup, but it could easily be upgraded:
- Add a timer (12–16 hours light per day)
- Line the cupboard with reflective material (foil or white board)
- Improve height adjustment for the light
- Add a small fan for airflow (stronger stems, less mould risk)
None of these are essential — just nice extras.
🌼 Final Thoughts
For small-scale growing, this kind of setup hits a sweet spot:
simple, effective, and easy to manage.
If you’ve struggled with leggy seedlings on windowsills, this is a bit of a game changer.
It’s also a great way to extend the growing season — especially up here in Edinburgh where light can be a bit… unpredictable!
🌱 Grow It Yourself
If you’re giving this a go, start with:
- Courgettes (fast and satisfying)
- Peas (great early crop)
- Lettuce (quick wins)
And once you’ve got the hang of it, you can scale up as much (or as little) as you like.
If anyone else is experimenting with indoor seed setups, feel free to share — always interesting to see different approaches – you can contact me via email or simply use the form provided here👍